Resolving Merge Conflicts
What’s a merge conflict?
You may sometimes run into merge conflicts as you merge another branch into your current branch.
When a file has been modified on your branch, and you’re merging another branch that has made different changes to the same file, a merge conflict occurs. In this case, GitFourchette isn’t sure which version of the file to keep, so it’s up to you to resolve the conflict.
Once you’ve resolved all conflicts, you should conclude the merge by creating a so-called merge commit with the affected files (along with additional changes if necessary, for example to adjust the rest of your code to the incoming changes). You prepare that commit by staging files as usual, but the commit will have two parents instead of one.
In practice
When there’s a merge conflict, some operations in your repository will be restricted, such as making a commit or switching branches. So, it’s best to resolve the conflict as soon as you can.
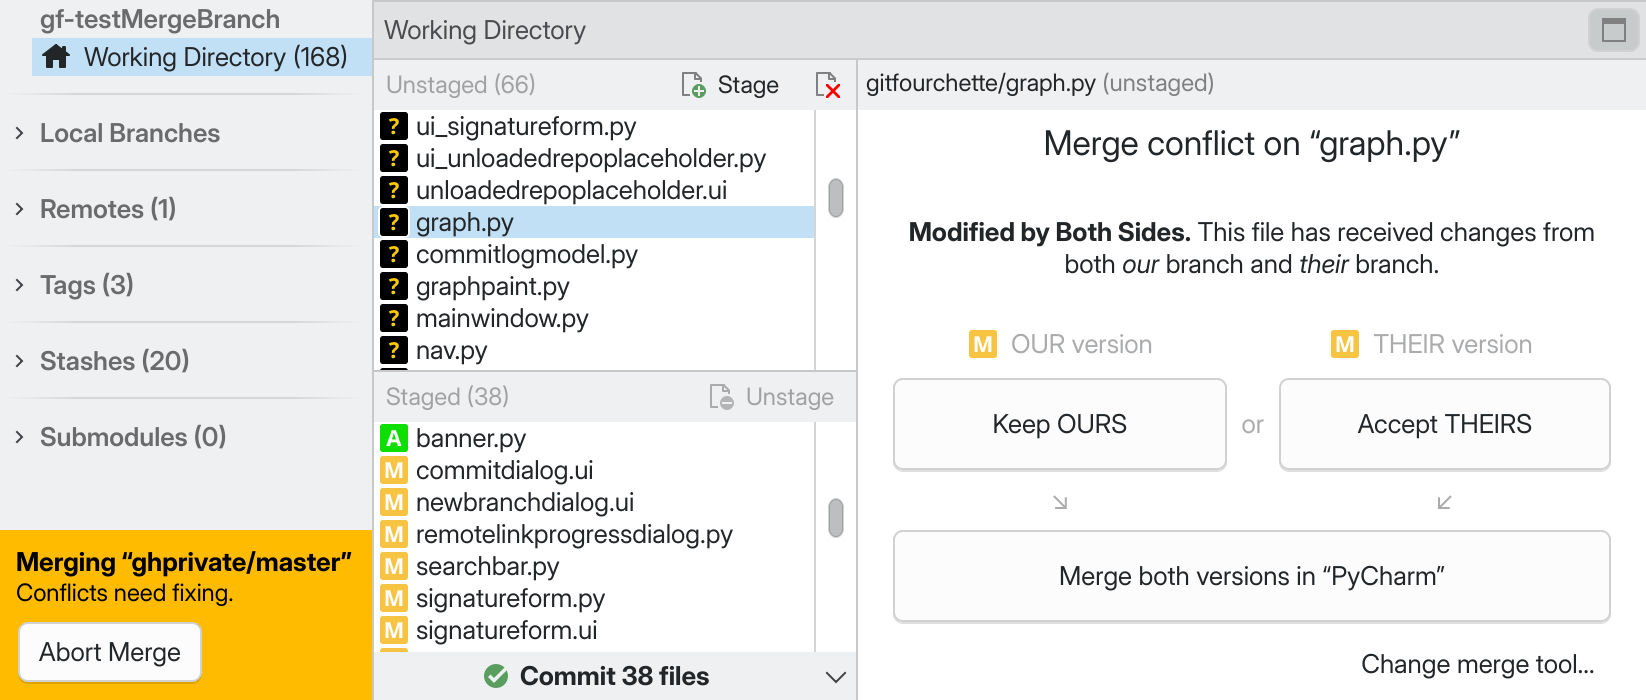
As long as your working directory contains conflicted files, a yellow
“Merging” banner appears below the Sidebar, and the file lists in the Working
Directory show pending conflicts with a question-mark icon ().
Select one of the conflicting files, and a Conflict View appears in lieu of the
usual Diff View.

Sample merge conflict.
In a merge conflict, the current version of the file is referred to as “ours”, and the incoming version (from the branch being merged) is “theirs”.
From the Conflict View, you can resolve the conflict in one of three ways:
Choice |
Description |
|---|---|
Keep OURS |
Reject incoming changes. The file won’t be modified from its current state in HEAD. |
Accept THEIRS |
Accept incoming changes. The file will be replaced with the incoming version. |
Merge both versions |
Note
The alternatives above apply to most merge conflicts. In some unusual cases, you may be offered more specialized options.
Tip
To batch resolve conflicts, you can select them together in the File List,
right-click, and choose Resolve By Accepting Theirs
or Resolve By Keeping Ours in the context menu.
Merging a file with an external tool
Sometimes, accepting or rejecting the entire file is inadequate. There might be changes to combine in both “our” and “their” revision—this calls for more granular merging. GitFourchette doesn’t offer a line-by-line merge tool (yet?), but it can leverage an external merging program.
Note
GitFourchette supports standalone merge tools such as KDiff3, Meld, P4Merge, etc.; as well as the “merge” mode in several code editors, including JetBrains IDEs (PyCharm, IntelliJ), VS Code, GVim, etc.
To select a merge tool, go to
.
Chances are your favorite tool is available among the predefined commands.
Otherwise, you can enter your own command
(feel free to open an issue to suggest it).
Flatpak users: To use a Flatpak merge tool, be sure to
pick one of the flatpak run commands available at the bottom of the
presets in . In
addition, note that the Flatpak version of GitFourchette itself automatically wraps
all external commands in a
flatpak-spawn call.
In the Conflict View, the last option for fixing a conflict is a large Merge both versions in (External Tool) button. Click it, and GitFourchette will launch the merge program and wait for you to complete the merge in it.
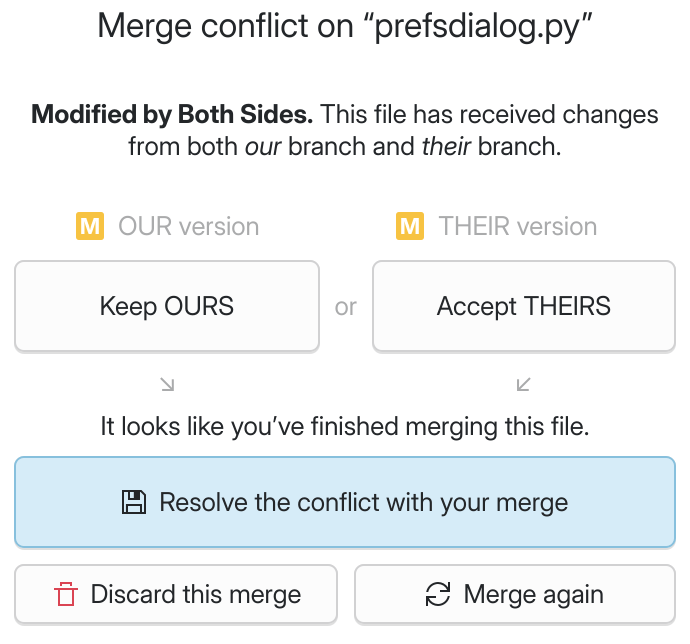
When you’re done merging, save the file in your merge tool and return to GitFourchette (you may have to quit the tool). GitFourchette will pick up that the merge is complete and will prompt you to confirm or discard your merge.

After finishing a merge in an external tool, return to the Conflict View to resolve the conflict with your merge.
If you discard the merge, the conflict will remain and you’ll have to
resolve it again. If you confirm, the conflict will vanish and, in most
cases, turn into a modification (), ready to stage and commit.
Concluding the merge
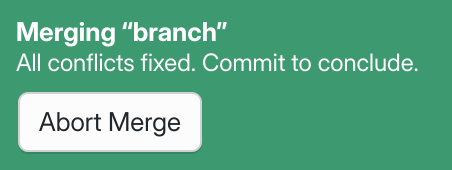
Once all conflicts are resolved in your working directory, the yellow Merging banner in the sidebar will turn green to inform you that no conflicts remain.

The Merging banner (below the Sidebar) turns green after resolving all merge conflicts.
When you see this, you should stage the conflict resolutions and commit your work to conclude the merge. Once you’ve made the merge commit, the banner will vanish and you can resume working in your repository as usual.
Note
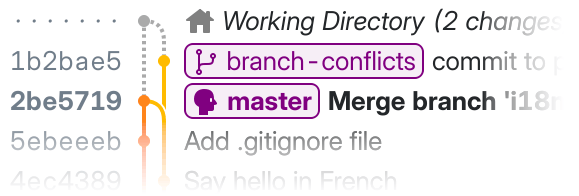
A merge commit typically has two parent commits. As you prepare the merge, the graph displays the links to the parents that your future merge commit will have, once created.

Preview of the future merge commit’s parents in the graph. Note the two dashed lines linking the Working Directory to the branches being merged.
Aborting a merge
If you change your mind about a merge, you can get your repository out of the “merging” state at any time.
To do so, click the Abort Merge button in the Merging banner below the sidebar. Aborting the merge will clear all unresolved conflicts, and all staged files will be reset.
Warning
Make sure there are no staged changes you want to keep before aborting a merge—all staged changes will be lost, even if they aren’t conflicting!